Tutorial describing the main steps for assembling a 3D-Printer rack. Complete video at the bottom of the page.
- Download files and unpack to your project folder
- Create a new part file in the same folder and name it 3D_printer_rack_main_assembly.prt
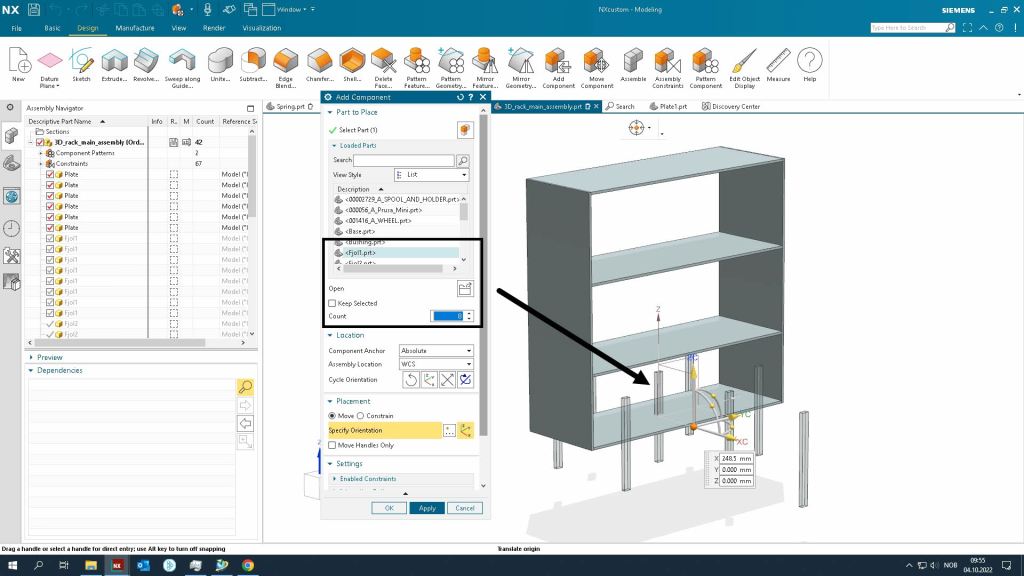
- Add plate.prt to as the first part to the assembly by using Add Component commando. Make sure it has the Fixed assembly constraint.
- Add the remaining five (5) plates
- Position the plates by using the Assemble commando.
- Add stiffeners (Fjol1) to the assembly and position them.
- Add stiffeners (Fjol2) to the assembly and position them.
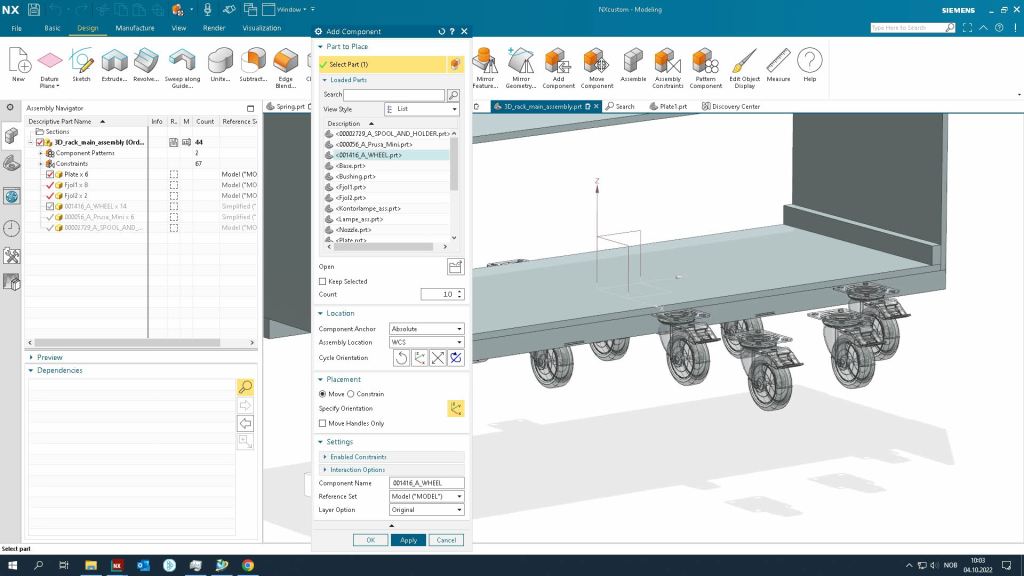
- Add wheels
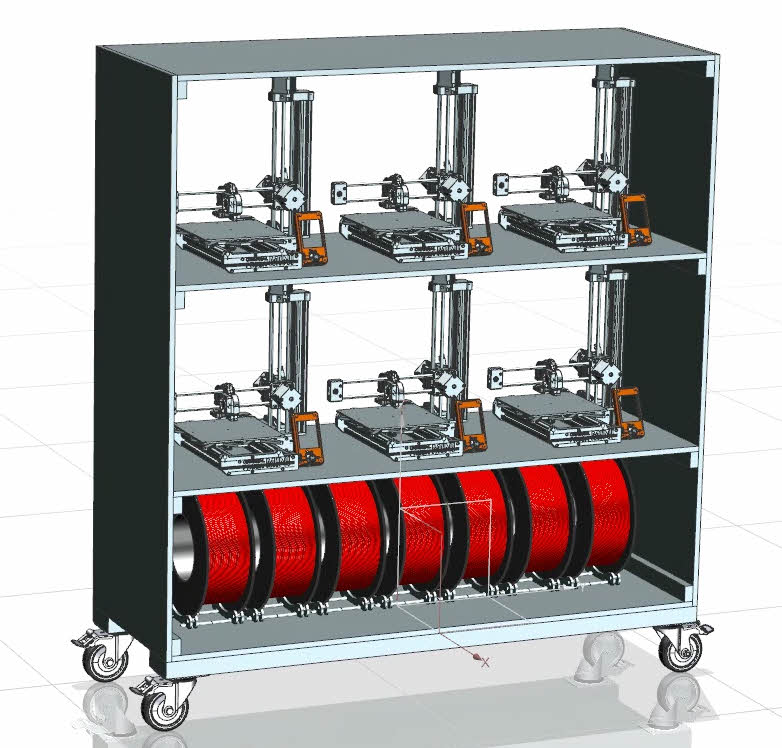
- Add six Prusa Mini+ 3D-Printers
- Add six spools and spool holders
- Are any parts or details missing? Complete the design and build the rack.