3D-modelling a button for 3D-Printing, clothes maintenance and repair.

Extrude method
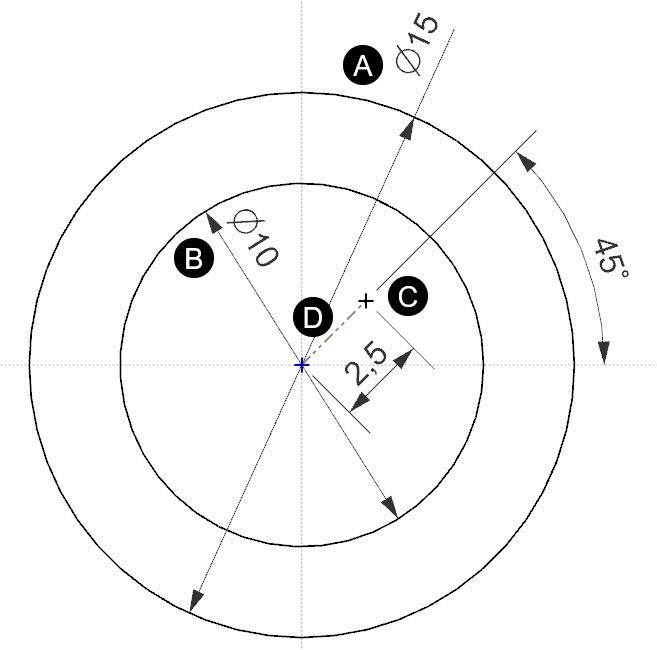
- Create new sketch in XY-plane
- Draw geometry
- a) Largest circle – Defining main geometry for button
- b) Smaller circle – For countersink (cutout) of button.
- c) Point for creating the holes
- d) Reference curve with dimensions for positioning the holes
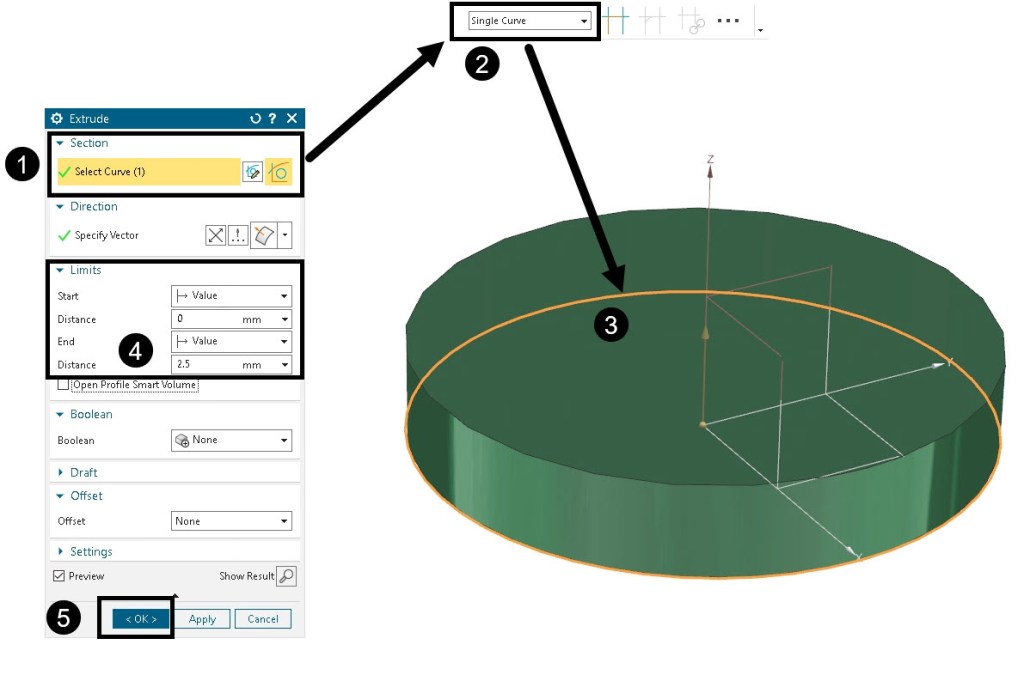
- Extrude outer circle to create main geometry
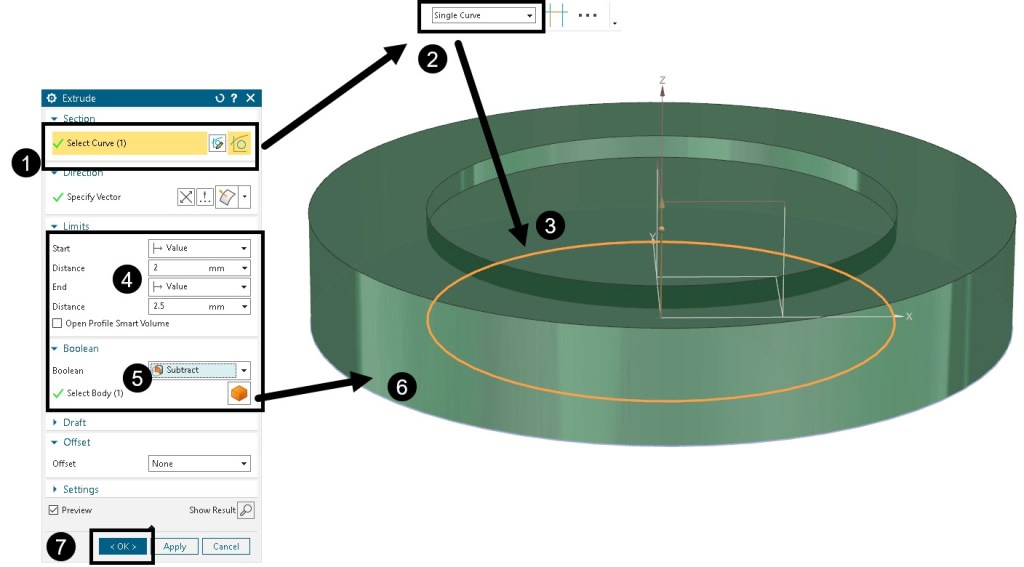
- Extrude and subtract
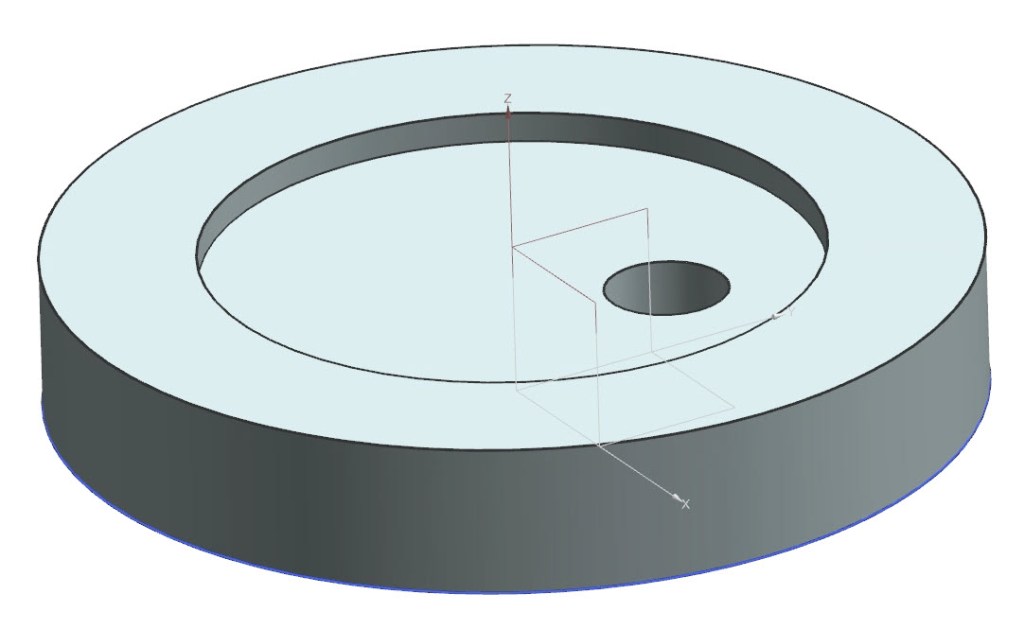
- Create hole
- Copy holes around Z-axis by using Pattern Feature
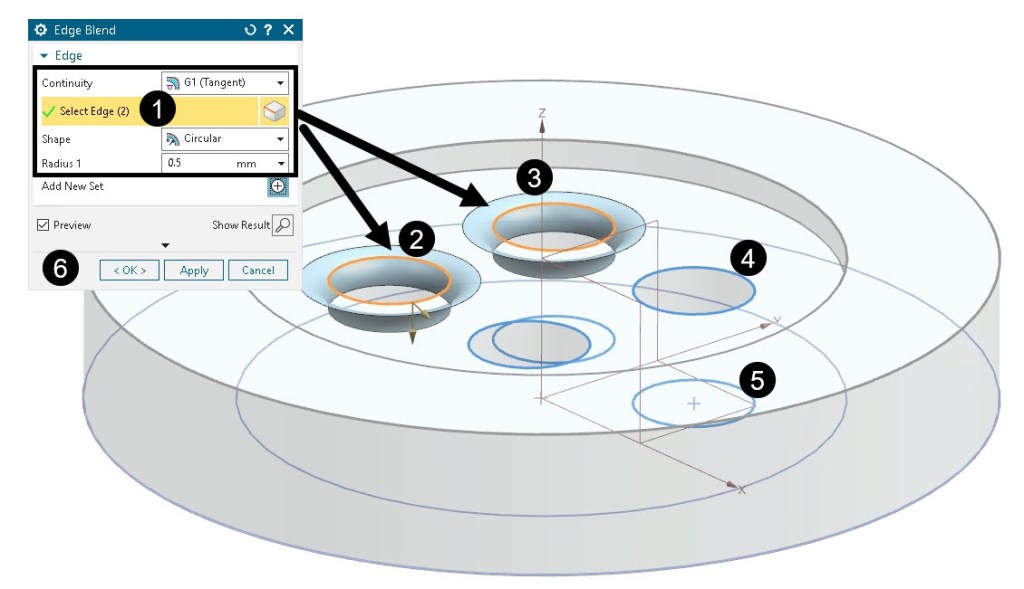
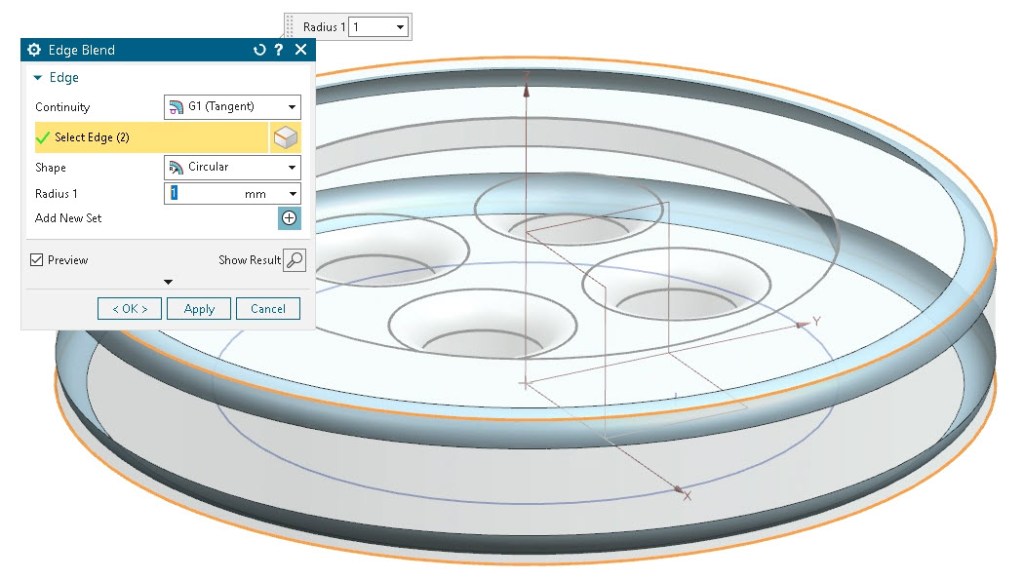
- Round edges with Edge Blend commando


Revolve method
Another approach to create the 3D-geometry is to use revolve as method. The output geometry will be the same, but slightly different approach when creating the sketch. Try to create the exact same geometry by using the Revolve method instead of Extrude as described above.
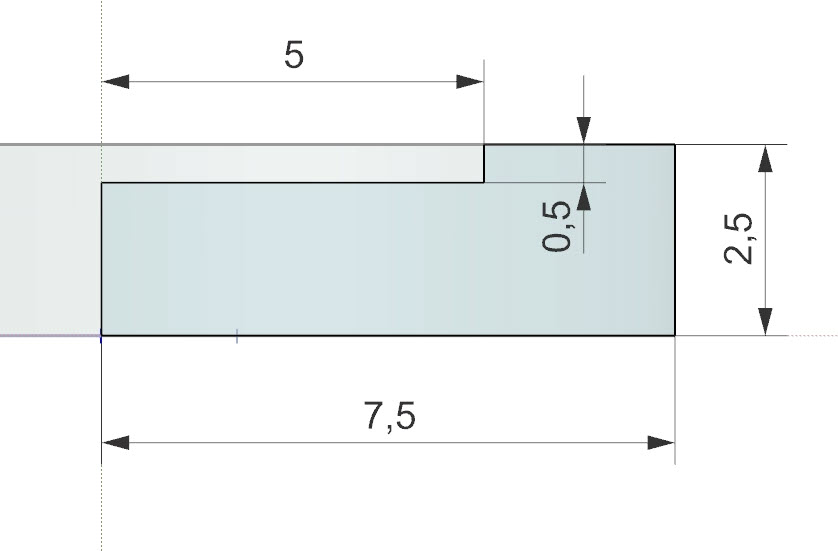
- Create sketch in YZ-plane.
- Revolve sketch around Z-axis to create main geometry.
- Create hole
- Copy hole with Pattern Feature around Z-axis
- Round edges with Fillet

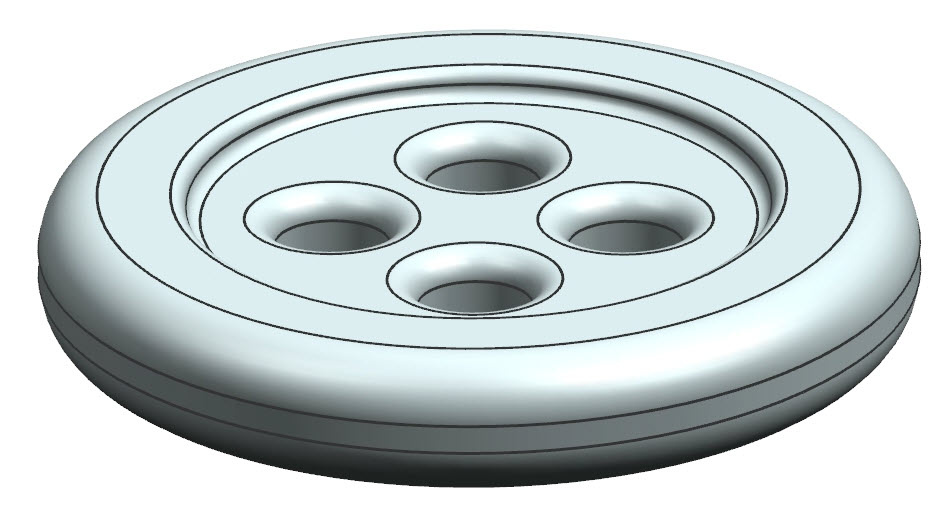
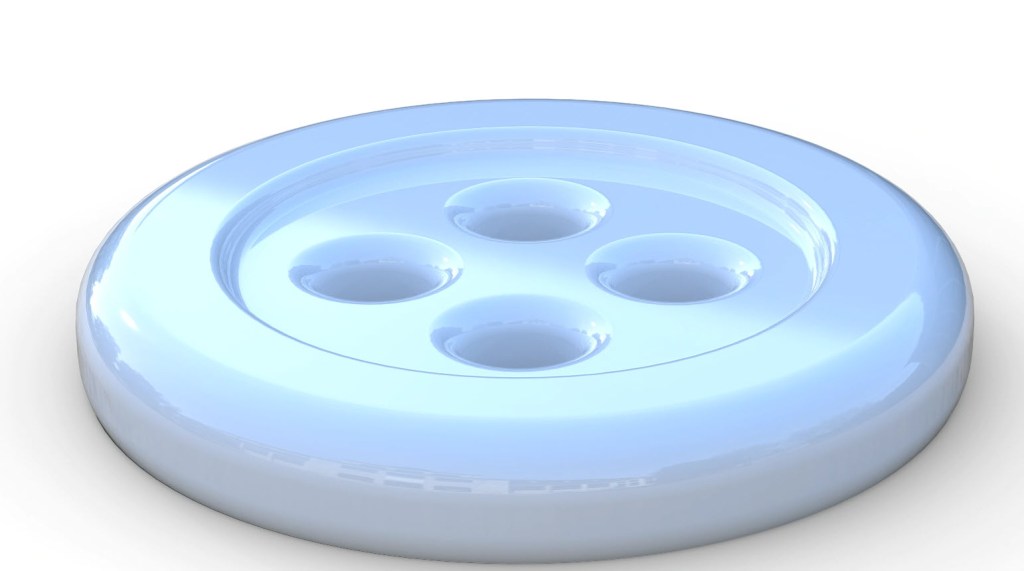
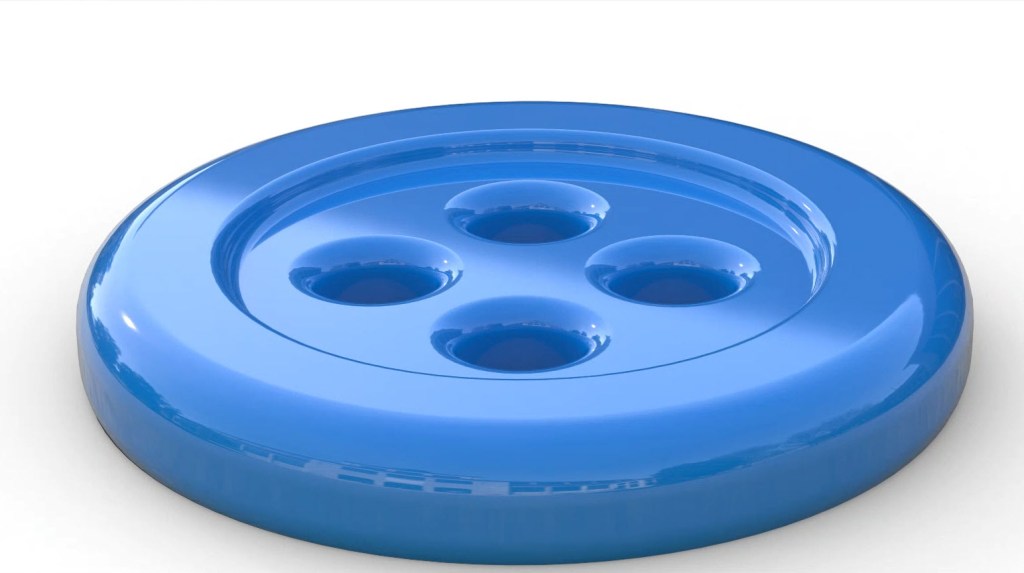
Rendered pictures


3D-Printing
Export to stl and slice in slicersoftware. Generate G-code and 3D-print.
